LED light strips make great low-energy pathway lighting

I had motion-controlled lights on my front steps for about a year when I decided I could do better. While it was nice to move up and down the steps without having to hit a light switch, the overhead lights powered by the Insteon Motion Sensor and SwitchLinc just felt like overkill in the middle of the night, no matter how low I dimmed the lights in the motion program.

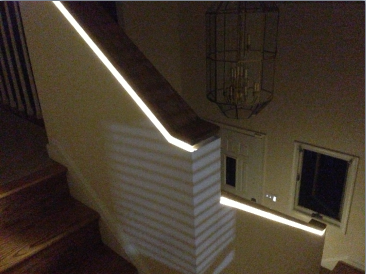
Inspired by the indirect lighting in movie theaters, I went looking for other options and finally discovered this little gem: a 16 foot reel of flexible, bright LED lights. These things are awesome, and have all kinds of uses in the automated home. They even come with an adhesive backing to stick them wherever you want – under counters, on stairs, and even inside drawers and cabinets. I decided to apply them under the handrail on my steps to provide motion-activated light at night:
light-strip-finished

There were quite a few challenges around how to power and control these, which I’ll cover in future posts, but as you can see in the above picture, the first challenge I had was that there wasn’t a contiguous run of railing to follow, so I had to come up with a way to cleanly break between segments of railing. The trick was to run wires inside the drywall: Read more ›

Posted by Matt Chiste
October 25

Control your holiday decorations with an Outdoor ApplianceLinc

It’s almost that time of year where those gaudy inflatable lawn ornaments will start showing up for Halloween, Thanksgiving, and Christmas, and Hanukkah – hey, I don’t judge, more power to you!

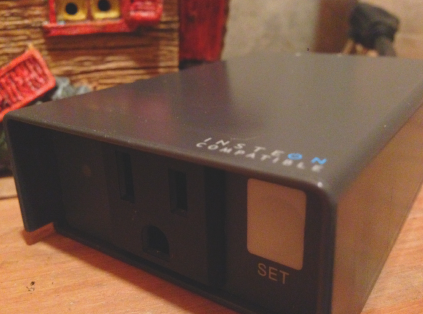
In the past you’ve likely used a manual outdoor timer to schedule your holiday decorations, but this year you’re automated, right? As such, you’ll want to pick up an Insteon Outdoor ApplianceLinc or two. These dual-band devices function just like the indoor ApplianceLinc, but they can power up to 1800 watts (as opposed to ~400 watts for the indoor model), are weather resistant, and have a huge operating range in terms of temperature.
outdoor-appliancelinc-2634-222 Read more ›

Posted by Matt Chiste
October 22

Extend HDMI range to 300+ feet with Ethernet cable

If you take anything away from this post, know two things:

  1. Over short distances, all HDMI cables are the same.
  2. Over longer distances (10+ feet) the signal may cut out depending on the quality of the cable, but you should still never buy offensively over-priced HDMI cables.

In other words, if you’re connecting your Blu-ray Player to your TV 3 feet away, use a really cheap HDMI cable. But, if you’d like to watch your TiVo from the living room in your bedroom on the second floor, the distance might be too far for cheap HDMI cables.

Fortunately for you, you ran ethernet cable between floors in your home, right? With ethernet cable, you can use an HDMI over Ethernet device to watch your Tivo shows on either TV. The HDMI output of your Tivo goes into an HDMI splitter; from there, one end goes to your TV and the other to the HDMI extender. The beauty of using HDMI over ethernet cable is that a) the digital signal travels further over ethernet than HDMI, b) the cable can be cut to length, c) foot-for-foot, ethernet cable is WAY cheaper than HDMI, and d) infrared signals can also be transmitted over the cable for control of the source device.

Unlike HDMI cables, though, HDMI over Ethernet extenders aren’t all the same. The devices range from the low-end, which require two separate ethernet cables to carry the HDMI signal, to the high-end, which requires only a single ethernet cable and can transmit infrared (remote control) signals at the same time. Thanks to Amazon’s great return policy, I tried the cheap one (and was disappointed) before settling on – and being very happy with – the higher-end model. Like the HDMI cable recommendation, your best bet is to start at the low end to see if the solution works for you, and gradually work your way up.

One final note: if your goal is to watch programs recorded on your TiVo in one room on a TV in another room, you may opt for a TiVo Mini. But for me, the idea of a perpetual monthly fee for this basic feature is a slap in the face for a device that already charges you $20/month for a basic program guide and ad delivery mechanism on top of what you already get from your cable company.

Posted by Matt Chiste
October 19

Make your own ethernet cable

Ethernet cable is traditionally used to connect networked computers, but it’s actually a great type of cable to have in your arsenal for other purposes. Before we get ahead of ourselves on some non-traditional ways they can be used, let’s take a quick look at the steps to make your own custom length of Ethernet cable.

The process is very well documented so I won’t dwell too much on it, but at a high level the steps are:

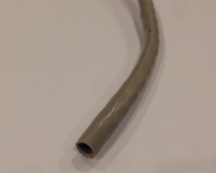
  1. Cut your cable to length. I use the wire cutter in my mini-toolkit or my cable stripper.
    cut-ethernet-cable
  2. Strip the cable to expose the internal leads. This can be done by carefully applying a traditional wire cutter or using a cable stripper.
    ethernet-cable-stripper stripped-ethernet-cable
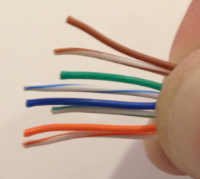
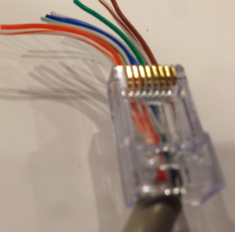
  3. Insert the individual leads into your RJ-45 ethernet connector, in the right order. Generally the order doesn’t matter as long as the colors are the same on both ends of the cable. I remember the order as “stripes first, orange-blue-green-brown, switch 3 and 5”, but you may find some easier method for remembering the colors.
    ethernet-connector ethernet-colors
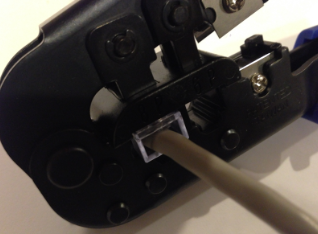
  4. Crimp the connector.ethernet-crimp

Read more ›

Posted by Matt Chiste
October 16

Make your Insteon Smart Home smarter with location information

By now you’ve probably got a decent number of Insteon-enabled devices in your home, like switches, thermostats, keypads, motion sensors, door sensors, and leak sensors, to name a few. Your house is getting smarter and smarter every day with your control devices (allowing you to tell it what to do) and sensing devices (allowing it to tell you things that are going on).

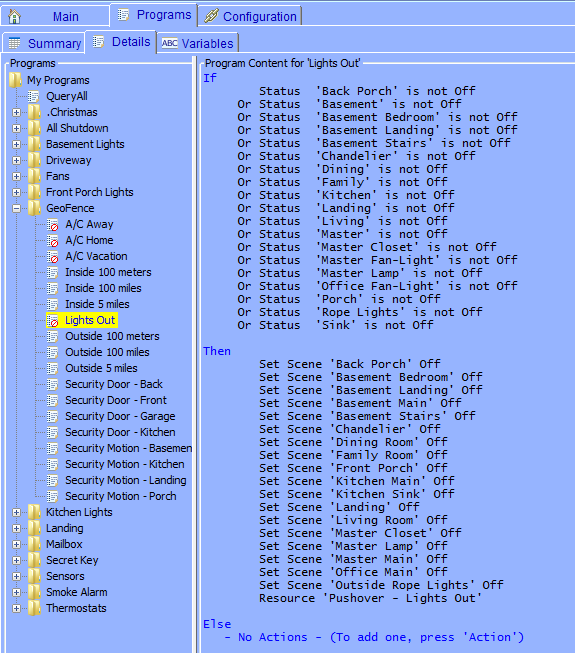
We’ve introduced the concept of geo-fencing and a great means of notification, so today we’re going to go over a couple of tips to help you blend that location awareness and alerting with the inputs (control) and outputs (sensing) of your home.
geo-fence-programs-insteon Read more ›

Posted by Matt Chiste
October 13

Use Pushover as an alternative to SMS or email notification

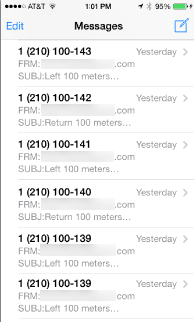
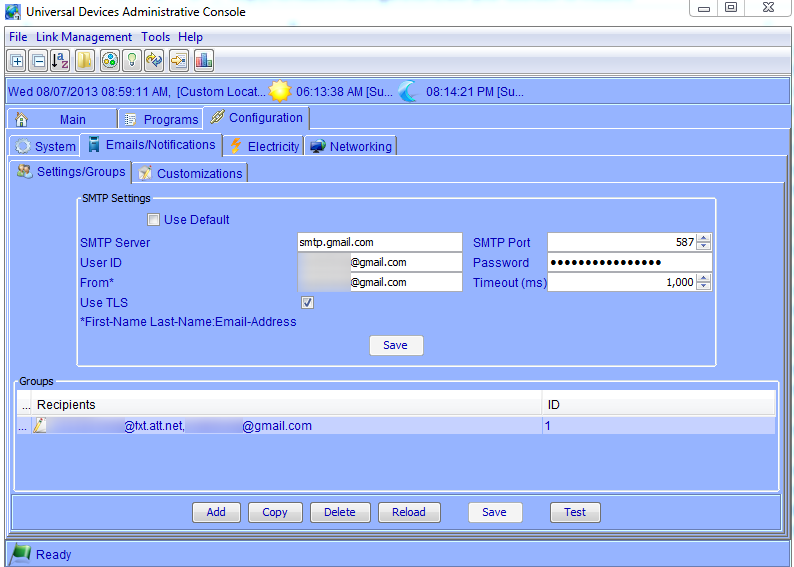
Out of the box, your ISY-994i can send texts and emails. With the Network Module it can do even more, such as calling custom code to send you a picture of who just rang your doorbell. There’s nothing really wrong with texting or emailing, but I found that AT&T uses a different “from” phone number every time it sends a text, so my messages were getting pretty cluttered:
txt-messages-isy-994i

While perusing the Universal Devices Wiki, I came across this Notification page, which mentions some alternatives to texting and emails that can be accomplished with the Network Module.

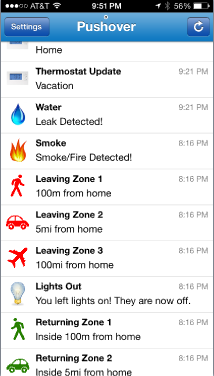
Pushover in particular caught my eye, because it would allow real-time notifications to iOS or Android that didn’t depend on email or SMS. And, while a bit pricey at $5, so far it hasn’t disappointed, and has delivered exactly as promised:
pushover-ios-insteon Read more ›

Posted by Matt Chiste
October 10

ISY-994i: the difference between state and integer variables

Last week when covering MobiLinc’s geo-fencing feature, I mentioned how MobiLinc will change a state variable based on whether you are inside our outside your “geo-fence“. If you’re a programmer, the use of variables is pretty obvious – and even if you’ve never actually written code, programming the ISY-994i is still pretty simple. But, there’s a bit of a rub with variables in the ISY-994i: there are two different types of them, integer variables and state variables.

Both types are identical, except that when the value of a state variable changes, a program event is raised. In other words, if a state variable is used in an “If” condition, the program will be run every time that variable changes, which may cause unexpected results.

For example, let’s consider a simple location program based on the geo-fence state variable. Let’s say our Kitchen motion sensor is configured to go ON when it detects motion and time out to OFF after 5 minutes. We want to get a text message when motion is detected inside the house and we are not home, so we write a program like this:

If
      Status 'Kitchen-Motion' is On
  And $Matts_iPhone_home_100_meters is 0
Then
      Send Notification to 'TextMessage' content 'Motion_detected_when_not_home'

The problem with this program isn’t obvious, but if we used this program, most likely we will ALWAYS be getting text messages every time we walked to the corner bar. Why? Because we are using a state variable, the conditions of this program are checked every time the value changes. Since the geo-fence is only 100 meters, the status of the motion sensor is likely to still be ON when the variable goes to 0, so both conditions are met, and the text message will be sent.

While it’s not a practical solution, changing the variable to an Integer Variable would solve the problem because it would mean the program only ran when the status of the motion sensor changed (and not the value of the variable). But, because we do actually want an event to fire when we leave our geo-fence, the better solution to this problem would be to change the first condition to:

      Control 'Kitchen-Motion' is switched On

That way, while the program is run every time our geo-fence is crossed, both conditions are only true when the motion sensor actually activates.

Some things to keep in mind about variables:

  • Remember both variable types behave the same, except state variables cause events to be sent, which may cause programs to run.
  • Remember to set the Init value of your variable if you need the value of the variable to be preserved through power outages.
  • If you don’t need a changing variable to start a program, use Integer variables. State Variables are slower because they require the ISY to check all those program conditionals.
  • There’s a great forum post describing the nuances of the program variables on the UDI Forum.
  • Universal Devices recently posted a video explaining the use of variables that I found very helpful:

Posted by Matt Chiste
October 7
 Subscribe to HomeAutomationGuru.com
    Add to Google Reader or Homepage

Enter your email address to subscribe: