Ethernet cable is traditionally used to connect networked computers, but it’s actually a great type of cable to have in your arsenal for other purposes. Before we get ahead of ourselves on some non-traditional ways they can be used, let’s take a quick look at the steps to make your own custom length of Ethernet cable.
The process is very well documented so I won’t dwell too much on it, but at a high level the steps are:
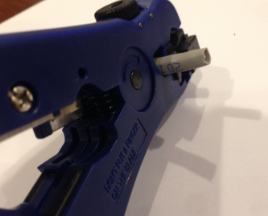
- Cut your cable
to length. I use the wire cutter in my mini-toolkit
or my cable stripper
.
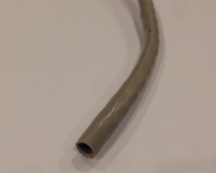
- Strip the cable to expose the internal leads. This can be done by carefully applying a traditional wire cutter or using a cable stripper.
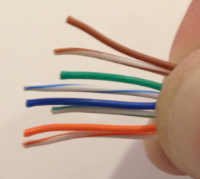
- Insert the individual leads into your RJ-45 ethernet connector
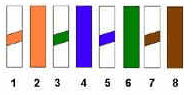
, in the right order. Generally the order doesn’t matter as long as the colors are the same on both ends of the cable. I remember the order as “stripes first, orange-blue-green-brown, switch 3 and 5”, but you may find some easier method for remembering the colors.
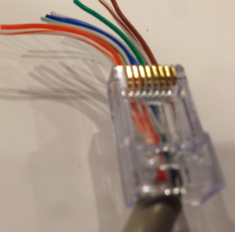
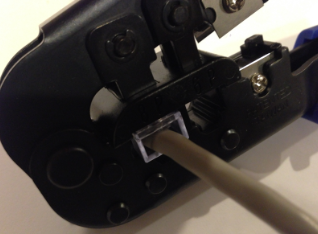
- Crimp
the connector.
That’s it! You now have a custom length of cable that has 8 internal leads to use for all kinds of home automation purposes.


