Let’s take a moment to revisit the light strip mini-series of posts – we’ve covered a lot on the topic and it’s time to wrap it all up.

We started with the selecting a location and installing a strip of LEDs underneath the banister to provide indirect lighting.
Next, I shared details on powering this light strip with a custom 3-D printed enclosure, motion sensor, circuit, and 9 volt battery. In that post I also introduced my Thingiverse account, which I’ll use to share future designs related to home automation and other hobbies.
After that, we took a little detour with a step-by-step guide for installing an OutletLinc power outlet in a new location.
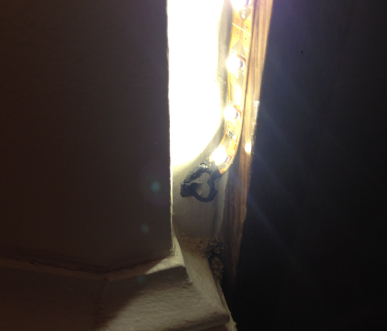
As you may have guessed, that OutletLinc is the key to the system that allows us to ditch the battery-operated motion sensor. Of course, this is only possible if there’s a power outlet nearby, or you are able to install one. The first step is connecting the LED light strip to the OutletLinc – and that can be done with pretty much any DC power supply
with output in the 9-12V range. You can connect the lights to the DC power strip by using an adapter like this one
, or soldering the leads directly to the strip. Make sure to test the connection before soldering, since the lights will only work if the leads are connected to the right terminals.
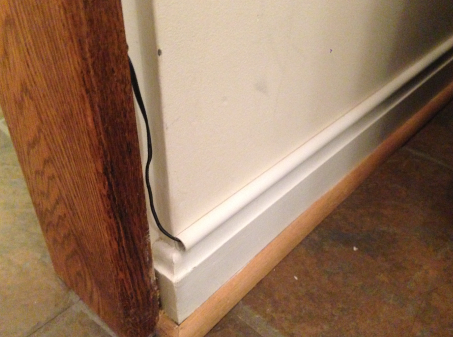
You’ll want to make the power cable as unobtrusive as possible, and even with an outlet near-by, you’ll likely still want to use a cable run for that finished look:
Once you’ve got everything physically connected, you’ll add the OutletLinc to your ISY-994i (like you did with the ApplianceLinc), then control the OutletLinc just like we controlled the SwitchLinc with a Motion Sensor.


