A while back, we talked about needing an electric outlet where one didn’t previously exist for our security camera. While that was an outdoor outlet that required the use of a GFCI receptacle, today we’ll cover the steps for installing an Insteon-enabled outlet inside.
Before we get started, here are a couple of points to keep in mind:
- Be aware of what this outlet will be used for. We’ve talked about model variations in the past, but two main models are dimming (2472DWH
), and non-dimming (2473SWH
). While both have a non-controlled receptacle for things like blenders and vacuum cleaners, the dimming model is really only good for lamps and could cause damage to other devices. It’s rated for 300 watts (as opposed to the non-dimming model’s 480 watts), but it’s dual-band, which is a big plus.
- If you are installing an outlet outdoors, or where wet conditions may exist (such as bathrooms and in the kitchen) you MUST use a GFCI outlet, which means that the outlet itself has a circuit breaker in it for safety in case it gets wet.
- Insteon doesn’t offer an Insteon-controlled GFCI outlet, so if you want to put an Insteon-controlled outlet near a water source, you have three main options:
- Outdoors, you could plug an outdoors ApplianceLinc into a GFCI receptacle
- Indoors, you could plug an ApplianceLinc into a GFCI receptacle
- In some cases, there is a single GFCI receptacle on a complete circuit. For example, you may notice only one outlet near your kitchen sink has the “test/reset” button on it, but if you trip the breaker with the “test” button, all other outlets around your sink lose power. This is because the outlets are wired in series, and in this case you should be OK installing an Insteon-controlled OutletLinc “down-stream” from the GFCI switch.
With that said, let’s get started:
- Plan the run. The first step is to plan where you’re going to install the new outlet, and where you’re going to get the power from. In my case I was planning to pull power from a light receptacle in an unfinished area of my basement, and run the power up to a wall on the main floor.
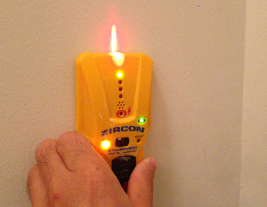
- Find the stud. Using a stud finder
, you’re going to locate the studs in the wall, keeping in mind that the box for the outlet will be attached to one of the studs.
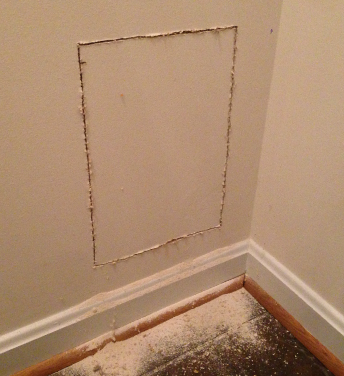
- Cut the hole. Using a drywall saw
, cut a decent-sized that leaves an exposed hole over at least one (but preferably two) studs. This will make the re-installation of the drywall easier because the studs will support the piece from behind.
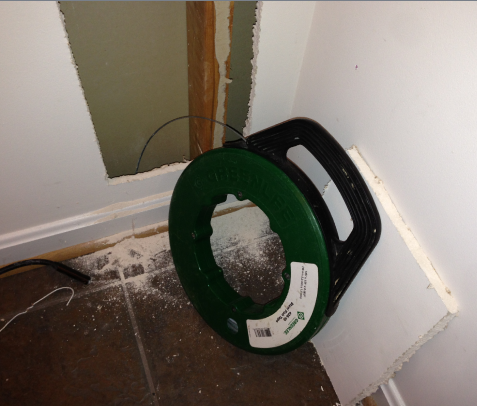
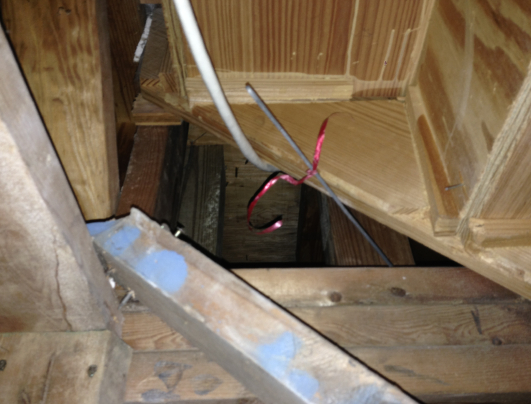
- Fish the Cable. Using a steel cable fish
, you’ll pull your power cable through the wall, through floor joists, and generally wherever you need to connect the source and destination.
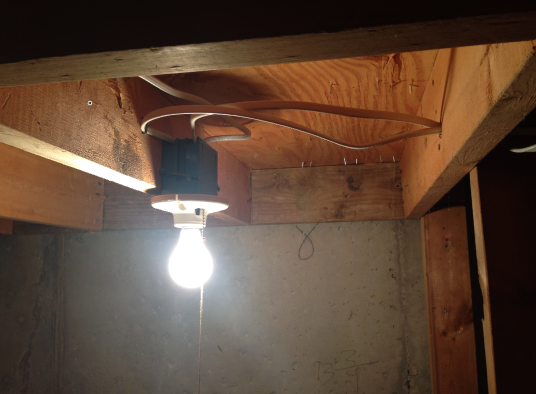
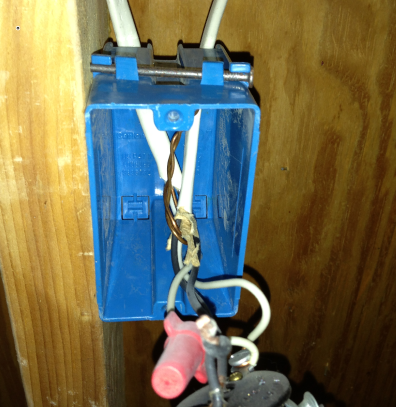
- Connect the source wire. Of course, for this part, make sure that the power is turned off. While you can wire your power source to another outlet (and, again, where water may be present, you MUST wire it to a GFCI outlet), the nearest accessible source for me was an exposed light. Connections are simple: using the existing wire nuts, you’ll connect the power, neutral, and ground wires (usually white, black, and bare) of your romex wire
to the existing wire inside the box, so that you’re connecting this circuit in series.
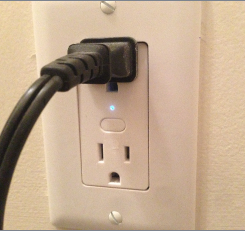
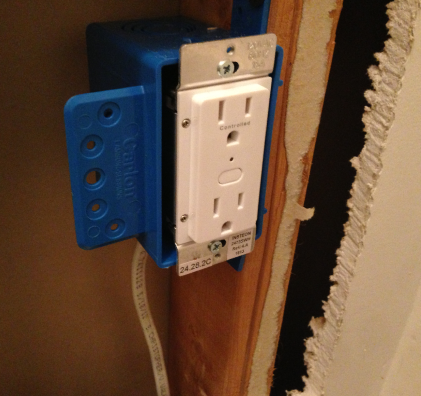
- Mount and wire the box. After mounting your 1- gang outlet box
so that it’s flush with the front edge of the drywall, you’ll wire the power into the box and connect to your Insteon OutletLinc
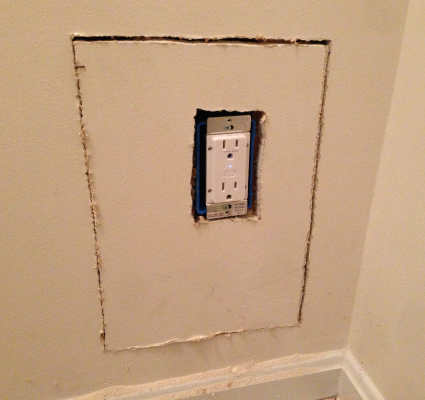
- Replace the drywall. Cutting a new piece of drywall (or use the existing one if it was cut out cleanly), make a hole for the outlet box, and re-install the drywall piece. Then, just patch the drywall.
That’s it – you should now have an Insteon-controlled outlet right where you need it!


