Receive a text message when your doorbell rings

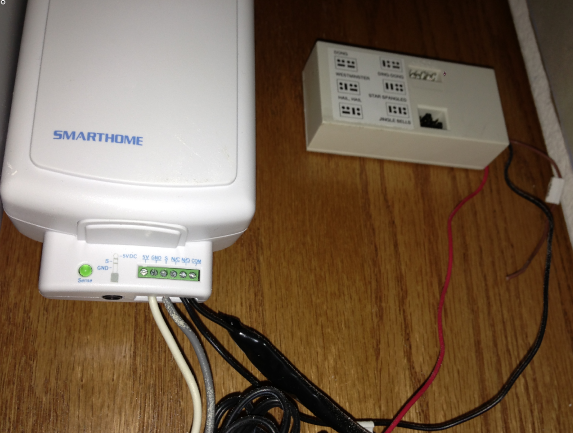
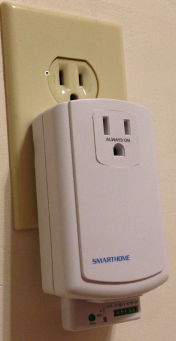
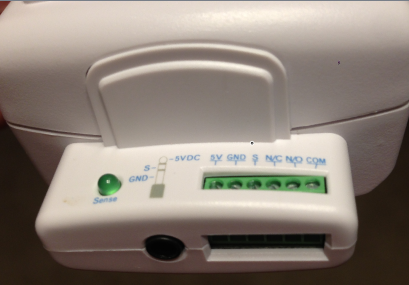
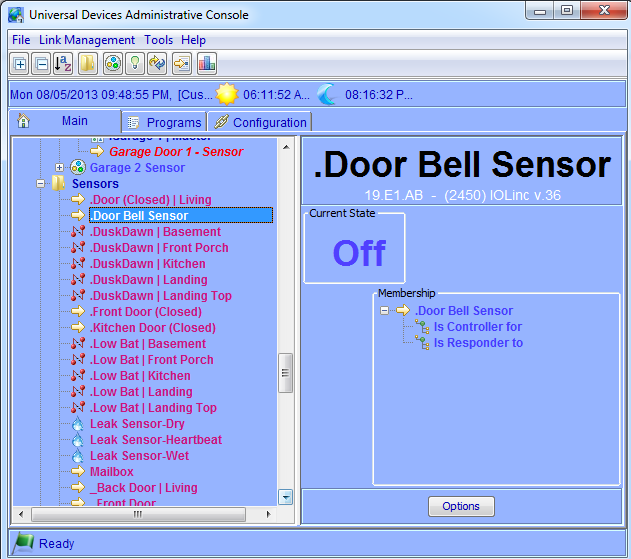
Continuing with the theme of setting up a smarter doorbell, let’s take a look at programming the ISY-994i to send a text message and/or email when the doorbell rings, so that we are aware of package deliveries or other visitors when we’re not necessarily within earshot of the chime.

The first thing we need to do is set up the Emails/Notifications section in the ISY-994i. We need to tell it how to send emails, who to send emails to, what the content of those messages should be, and when to send them.

How to send emails. In the ISY-994i admin interface, go to the “Configuration” tab, then “Emails/Notifications”, and define the values for your mail server under the “Settings/Groups” tab. For example, if you have a Gmail account, you’ll use smtp.gmail.com for the “SMTP Server” value and 587 for the “SMTP Port”. Your “User ID” and “Password” will be your full Gmail address and password (or, if you’re using the 2-factor authentication, which you should, it will be the “Application-Specific Password” – learn more about this here). Also check the “Use TLS” box.

Who to send emails to. Next, you define “Recipients” by clicking “Add” at the bottom of the screen. Here, if you want to receive a text message and you’re on AT&T, just enter {10-digit phone number}@txt.att.net (other carrier suffixes can be found here). You can also receive regular email, and if you’d like a notification to go to two different addresses, separate them by a comma. For example:

1234567890@txt.att.net,mymail@gmail.com

isy-994i-notifications Read more ›

Posted by Matt Chiste
August 17

Morning Industries RF Deadbolt Locks

Keys? So old-fashioned! We’ve been able to unlock our cars for years with a key fob, so why not unlock your door wirelessly as well? The Morning Industries RF Deadbolt is a great product that allows you to do just that – hit a button on your keychain from a couple feet away and the door magically unlocks – no keys necessary. Installation is very simple and well-documented; you just replace the current deadbolt with the Morning model. From the outside, the deadbolt looks like pretty much any other – with the addition of a red and green LEDs that light up when the deadbolt is locking or unlocking:
morning-remote-deadbolt

On the inside, you’ll have a slightly bigger-than-normal box that houses the 4 AA batteries and the motor mechanism to throw the latch, as well as the traditional deadbolt latch you use to manually throw the lock:
morning-remote-deadbolt-inside

The key fobs (two are included, but you can get extra fobs) are simple and reasonably reliable, although I find the range relatively short (about 5 feet), and one of the batteries were dead in the package I received.
morning-remote-deadbolt-key-fob

Aside from the range (which I can’t really complain about since it’s so much easier to push a button when carrying groceries into the house than landing a key), I’ve heard complaints about the cosmetics of the “large box” on the inside (really!?). The biggest issue I’ve personally found is that the motor isn’t too strong; originally the deadbolt didn’t perfectly line up with the hole in the door jam, and the motor sometimes jammed when throwing the deadbolt. The good news is that if the bolt gets jammed there’s an audio cue (a double-beep) that indicates the lock hasn’t thrown. This can be fixed by either repositioning the deadbolt plate, or in my case I used a Dremel tool to shave 1/8″ off the bottom of my deadbolt plate to make the bolt slide in smoothly.

Posted by Matt Chiste
August 14

Neato XV-11 – a robot vacuum cleaner ready for (light) duty

You’re here because you’re into home automation, right? It’s now the future, so why aren’t our homes solving all the world’s problems, and where are our robot butlers and maids?
rosie-v-neato

I’m afraid I don’t have an answer for that. But I do have a several-year-old Neato XV-11, which I got after my old iRobot Roomba finally gave up the ghost. (It looks like there are newer XV-12 and XV-21 models, but I haven’t been in the market for a while).
neato-xv-11

I have to admit: this thing is pretty neat(-o). Rather than the old pattern that the Roomba had (randomly bouncing around in circles), the Neato uses laser positioning to build a more structured route around a room, vacuuming in neat rows across the room, doing one room at a time. It’s a decently functional vacuum that can be scheduled to run daily and operate mostly autonomously, returning to its base when done – like pretty much any other robot vacuum cleaner on the market. But, despite what the manufacturers would have you believe, I don’t find the scheduling feature all that effective because I’ve gotten about a 50% “success rate” of the vacuum (either Neato or the older Roomba) actually finishing a job and getting back to base. The rest of the times I’d come home to find it “crying” somewhere about being stuck, and it’d require a little kick to put it back in action. Read more ›

Posted by Matt Chiste
August 11

Add your doorbell to your Insteon network

Now that we’ve taken a look around the I/O Linc, let’s see how these guys can be used in practice. Today’s exercise will focus on getting your doorbell integrated into your Insteon home automation system. Why, you ask? Because once your doorbell is wired to your home automation system, all sorts of things are possible – including:

  1. getting text messages on your phone when your doorbell rings,
  2. flashing a light when the doorbell button is pressed,
  3. logging the times that the bell rings (and taking different actions based on the time of day),
  4. sounding the doorbell even if the doorbell button isn’t pressed to provide audio feedback for various events, and
  5. triggering other events like getting a picture of who’s at your front door with your security camera.

These are all topics that we’ll be discussing soon, but let’s start with the physical setup.

The first thing you’ll need to do is assess whether you can access the wires for your existing doorbell chime. If your chime is located high on a wall somewhere, you may need to do some drywall work to get those wires near an electric outlet because you’ll need power for both the I/O Linc as well as the new Doorbell Chime transmitter. Fortunately for me, my doorbell wires landed in my 1980’s intercom system so I had easy access to the leads as well as power when I replaced the old system with my home control command center.

The location for the I/O Linc and transmitter needs to be near where those wires terminate, but note that the chime component itself (the receiver) can be plugged into any outlet in the house and will receive the “ring” signal wirelessly. In fact, you can even have multiple chimes in different locations in your home by plugging in additional add-on receivers.

Once you’ve got the leads from the doorbell near an outlet, you’ll wire them into the GND (ground) and S (sense) terminals of the I/O Linc. These are the input signals, which means that when the doorbell button is pressed, the circuit is complete and a signal is sent out on the Insteon Network that this input is “on”. Next, you wire the transmitter up to the outputs – specifically the N/O (“normally open”) and COM (common) terminals. Now, when this I/O Linc receives a signal from the ISY-994i, it will “close” this circuit, telling the transmitter to send a signal to the actual chime itself. Here’s what the “transmitting” side looks like, from the doorbell leads (grey/white wires) to the I/O Linc, with the output connected to the door chime transmitter:
iolinc-carlon-door-chime-transmitter

The receiver simply plugs into any outlet – in my case into a power strip in the home control command center:
carlon-door-chime-receiver Read more ›

Posted by Matt Chiste
August 8

Insteon IOLinc

The Insteon product line is incredibly comprehensive, but at times you’ll want to extend your home control network beyond the stock devices. For these instances you’ll find that one option is the INSTEON I/O Linc, which provides one input an one output terminal to use for sending and receiving signals to/from external devices. The form factor of this device is almost identical to the ApplianceLinc in that it has the same shape, plugs into an outlet the same way, and has an external plug so you can plug other non-Insteon-controlled devices into it that stay on. But, on the bottom there is a series of terminal posts that allow you to wire to external devices, which we’ll discuss in upcoming posts.
iolinc iolinc-terminals

To give you an idea of the kinds of things you can integrate with your network, check out these Amazon search results – there are things like rain sensors, drape controls, door strike kits, keypad controls, and garage door kits.

Like any other Insteon product, adding this device to your ISY-994i is simple – once you add the device to your network, you’ll see multiple items – one for the input and one for the output – that you can use in scenes or programs to take other actions.
iolinc-isy994i-doorbell Read more ›

Posted by Matt Chiste
August 5

CyberPower UPS

Whether you’re a computer consultant like myself or fall into the category of DIY Home Automation Person, an Uninterruptible Power Supply (UPS) is a great piece of hardware to have in your arsenal, even if you don’t suffer from frequent power outages.

I’ve got the CyberPower CP1500AVRLCD UPS 900W AVR Mini-Tower, and have been very happy with it. Whether there is a brown-out, black-out, or I’m doing some wiring that requires me to shut of power at the breaker, I get more than a few minutes with my system before I run out of juice.

The CyberPower with LCD screen is pretty neat, in that it shows you the time remaining left in the battery based on the current current draw. For example, I’ve recently learned that my Dell Monitor sucks up a ton of power, and in the event of a blackout I get more than twice the battery length for the rest of my electronic gear if I turn it off (about 33 minutes with the monitor on and 77 with it off):
cyberpower-monitor-off cyberpower-monitor-off Read more ›

Posted by Matt Chiste
August 2

Insteon TriggerLinc

Today’s feature is a simple addition to our home automation system – the Insteon TriggerLinc. This device is about as simple as they come: it’s a magnetic sensor that reports its open-closed status to your Insteon network via scenes or to the ISY-994i. It is the start of us building our home security system because the primary place you’d use these guys is in on your doors (regular or sliding) to monitor when they’re opened – but we’ve got a few more tricks up our sleeve with the TriggerLinc that I’ll share in coming posts.

triggerlinc-regular-doortriggerlinc-sliding-door

Like the Insteon Motion Sensors, these are wireless devices that are added as controllers to scenes. They are battery operated (the single AA battery in some of mine has lasted 14 months and running, depending on how often the door is opened), need to have a dual-band device nearby to receive the signal, and are added to your network just like any other device.

Posted by Matt Chiste
July 30
 Subscribe to HomeAutomationGuru.com
    Add to Google Reader or Homepage

Enter your email address to subscribe: