An Insteon Smart Home becomes (almost) Self-Diagnosing

For a couple of weeks now, it seemed like my A/C was getting slower and slower to cool down to the set temperature, even after accounting for dynamically changing thresholds based on time of day or whether I’m home. Fortunately for me, I didn’t have to rely just on “feel”, but had hard metrics gathered through my custom application IntelliHome to prove there was a problem.

IntelliHome records historical data of Insteon device states, weather, power usage, and thermostat settings. Using this data, I plotted the temperature in the house against the temperature settings of the thermostats, including the state of the A/C system:
insteon-thermostat-analysis

The results were immediately apparent: even though the temperature settings varied between 83 and 79 degrees depending on time of day (and whether I was home), the upstairs air conditioner ran only periodically (shown with the yellow highlight), and the data showed the temperature dropping quickly when the unit was on. The downstairs unit, on the other hand, didn’t fare so well (shown with the orange highlight). Whenever the temperature threshold dropped from 83 to 79:

  1. the unit immediately turned on,
  2. the temperature didn’t go down significantly, and
  3. the unit stayed running non-stop until the temperature threshold went back to 83

Read more ›

Posted by Matt Chiste
August 26

Advanced ISY994i programming for Insteon-enabled garage doors

We’ve covered the basics of automating your garage doors via Insteon, but as you can probably imagine, there’s always room for enhancement. Today we’ll cover some additional functionality you can tease out of the hardware you’ve already got installed.

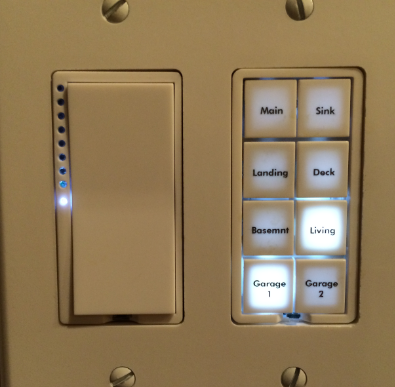
As discussed in the original post, to enable a button on a KeypadLinc, you create a scene attached to the button so that a) pushing the button controls the door, and b) the light on the button illustrates whether the door is open or closed.
insteon-garage-door-keypadlinc

Turn off the IOLinc state once the door has been activated
The IOLinc has a “sensor” (input) and “control” (output). The setup described above means that the IOLinc momentarily “latches” (or activates) the garage door when the state of the IOLinc control is turned on, but does nothing when it’s turned off. This means that when controlling the garage doors via an application like MobiLinc, the act of turning the IOLinc control “on” doesn’t actually open the door – it “toggles the state”. Turning the IOLinc “off” doesn’t actually do anything. I find this a bit confusing, so I use a simple program to automatically flip the state of of the IOLinc control back to “off” after it’s been turned on. That way, the door is toggled every time I turn the IOLinc “on”, and it automatically returns to the “off” state when the action occurs.

If
   Status 'Garage Door 1 Control' is On
Then
   Wait 20 seconds
   Set 'Garage Door 1 Control' Off
Else
   - No Actions

Read more ›

Posted by Matt Chiste
August 22

Label batteries in your wireless Insteon devices

Batteries in wireless Insteon devices like the Hidden Door Sensor or Motion Detector can last anywhere from 3 months to a year, depending on usage and configuration, but it’s tough to estimate just how long that time window is without testing under actual conditions. For example, the battery in the door sensor is likely to last much longer on a door that’s infrequently used compared to one that’s used daily. Or a motion sensor configured to only send “on” commands after-dark will last much longer than one configured to send both “on” and “off” all day long.

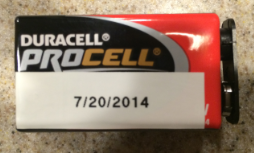
To get a better idea how often you should be replacing batteries in these devices, I recently started implementing a new trick when replacing batteries: label them with the date they’re installed. That way, when the battery finally dies, you can immediately see how long the old one lasted before needing to be replaced. Of course, you could just log all this information somewhere to capture things like how the motion sensor settings affect battery life, but using a $10 label maker will help for those times when you forgot to log when you did the replacement.

insteon-battery-label Read more ›

Posted by Matt Chiste
August 18

Calling all (beta) testers: Integration between ISY994i and Nest

Nest has finally published their public API! I’ve started developing an integration between Nest and the ISY-994i via IntelliHome, and am looking for beta testers.

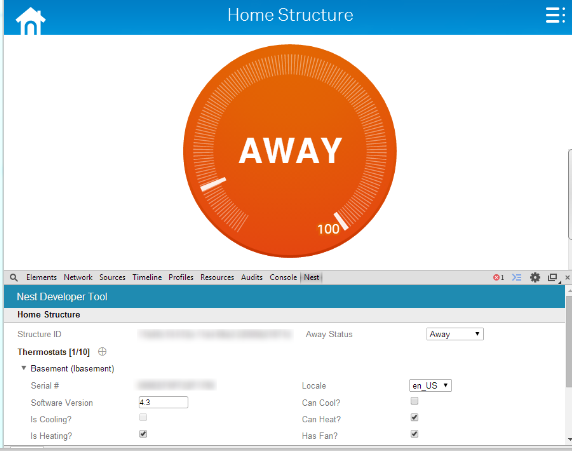
I’ve got data coming from the Nest API into IntelliHome using the Nest Developer Chrome Extension (which allows you to emulate a thermostat or smoke detector), but only have Insteon Thermostats and don’t (yet) have any physical Nest Devices.

So far, I’m pretty happy with the emulator, which seems to work well:
nest-thermostat-simulator

… and the data is coming in clean to the database (with the integration to ISY994i variables coming up soon):
nest-thermostat-data

If you’d like to check out Intellihome and help me develop this feature, drop me a line and I’ll get you the installation instructions to test this integration.

Thanks! Read more ›

Posted by Matt Chiste
July 2

Introducing Intellihome: a web-based home automation app for Insteon

For the past year or two, I’ve been working on writing a home automation application called Intellihome. It’s more of a pet project than an actual product, but recently a few readers have asked questions that can best be implemented using this software, such as:

  1. What’s the best way to keep a history of Insteon events?
  2. How did you implement that security camera application where you get a picture of who just rang the doorbell?
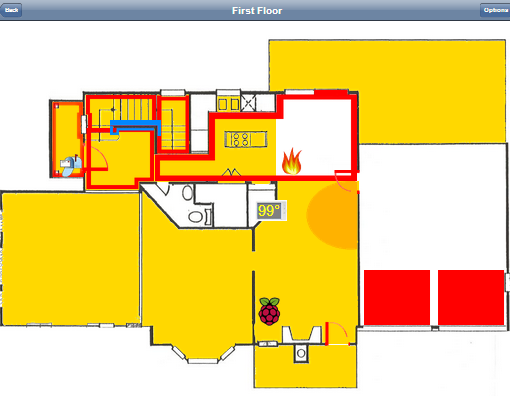
  3. Is there a way to create a “floor plan view” of my Insteon network and, and control devices through that tablet-friendly interface?

So, I’ve started sharing the application with a few alpha testers to see if they could find any unique applications for it. In addition to integrating with the ISY-994i to visually displaying the status of sensing devices and manipulate control devices, it maintains a database back-end of all these events, in addition to weather data, real-time power usage, location information, and more.

Below are some screen shots of the application, and if you’d like to learn more, check out the Intellihome page. I haven’t made the application publicly available yet, but while it’s still a little rough around the edges, it’s still really functional. If you’d like to give it a shot on your network, drop me a line and I’ll share the app with you to test it out (and hopefully provide feedback on what else you’d like to see with the application).

intellihome-control2 Read more ›

Posted by Matt Chiste
June 27

Mini Tool Kit

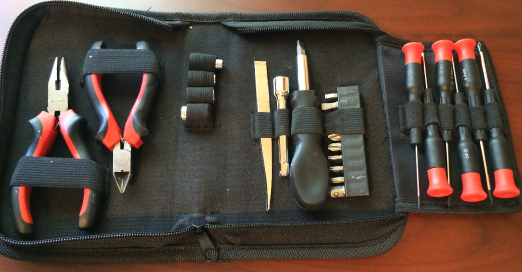
Behind every great project is a great set of tools. I’ve got a pretty varied collection of tools in my arsenal (albeit not as comprehensive as discussed in LifeHacker’s Essential Tools post), but the go-to set if find pulling out most often is actually the simplest and cheapest at 9 bucks – the 25-Piece Tri-Fold Mini Tool Set.

mini-tool-kit
It’s not as cool as the Worx semi-automatic Screwdriver, but it’s compact and has pretty much everything you need for light home automation projects. My only complaint from the Amazon listing is that they seem to have removed the wire cutter and replaced it with a tape measure – which may or may not be to your liking.
Read more ›

Posted by Matt Chiste
June 24

Emulate an 8-button RemoteLinc with a 4-scene device

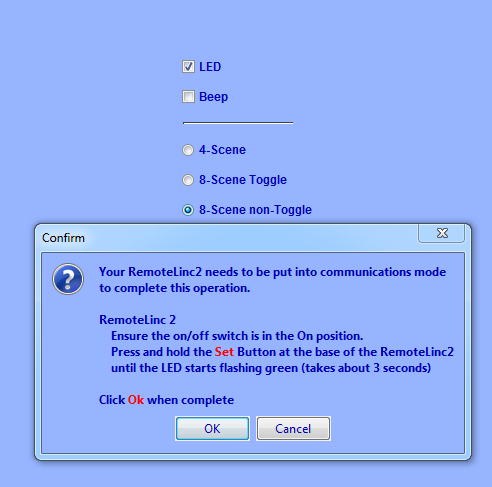
The portable Insteon RemoteLinc is a great device that allows you to add control to your Insteon system from virtually anywhere in the house, whether or not you have a light switch nearby. While there are actually two versions of the device – an 8 Scene and a 4 Scene, when you go to configure them in the ISY-994i, it appears that you can configure one to behave exactly like the other – 4 scene, 8 scene toggle, and 8 scene non-toggle:
remote-link-4-scene-8-scene
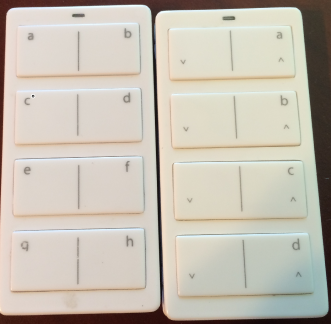
… with the difference being that the button labels are different:
remotelinc-4-8-scene

Unfortunately, this is not the case. The ISY-994i will let you reconfigure a 4-scene device to be an 8-scene one (including showing all 8 buttons independently in the UI), but the last 4 “buttons” that show up don’t actually do anything. Instead, as the silk-screen buttons on the front show, there really are only 4 “buttons” that change state – the left one changes the state to off and the right one changes the state to on. Read more ›

Posted by Matt Chiste
June 20
 Subscribe to HomeAutomationGuru.com
    Add to Google Reader or Homepage

Enter your email address to subscribe: