Remember those old tape deck-based intercom systems popular in the ’80s and ’90s that allowed you to play music and page different rooms of the house? When I bought my house in 2011 (built in ’89) they still had one of those guys mounted on the wall in the kitchen. It was great nostalgia being able to turn it on and hear an unintelligible buzz throughout the house, but I figured it was time for an upgrade. Using my new-found drywall expertise and some ’80’s-era woodshop skills I learned in shop class, I decided to build a modern central command system.
Step one was removing the old system and marveling at the ancient electronics that went into this thing. I spent quite a bit of time labeling all the wires, thinking that the low-voltage connections to the various rooms that had the intercoms might come in handy, but in the end I just scrapped all that – although one wire I’m glad I labelled was the doorbell leads (more on that later).
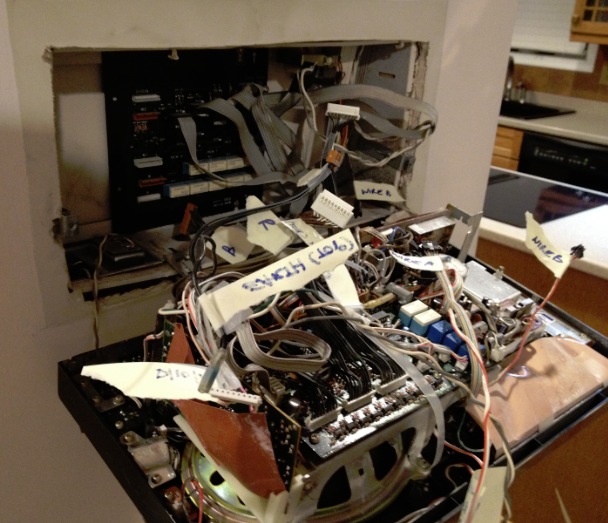
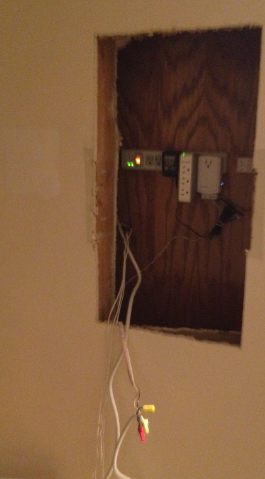
Once that was done, I expanded the hole between the studs and happy to discover a large cavity and available power inside the wall, where I wired in a power strip to power the eventual devices on the outside:
Next, I carefully measured the cavity and built a box with shelves, attaching pieces of molding to the front and staining it with a color that matched the rest of the kitchen:
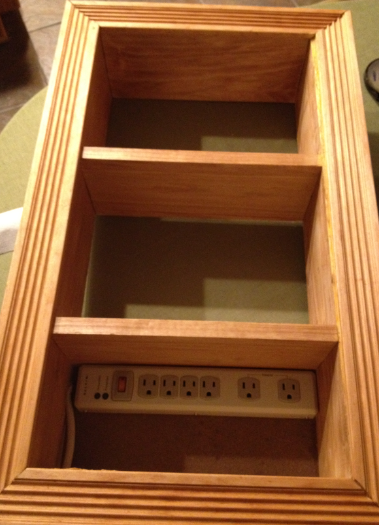
Into the box, I mounted a standard power strip (plugged in behind the wall), relocated my thermostat, and installed two iPad/iPhone docks
(one mounted horizontally with my favorite two-sided tape).
The end result is a centralized place for temperature control, iPhone/iPad charging, home control (through the MobiLinc interface), and space for other devices and power that we’ll be discussing soon:
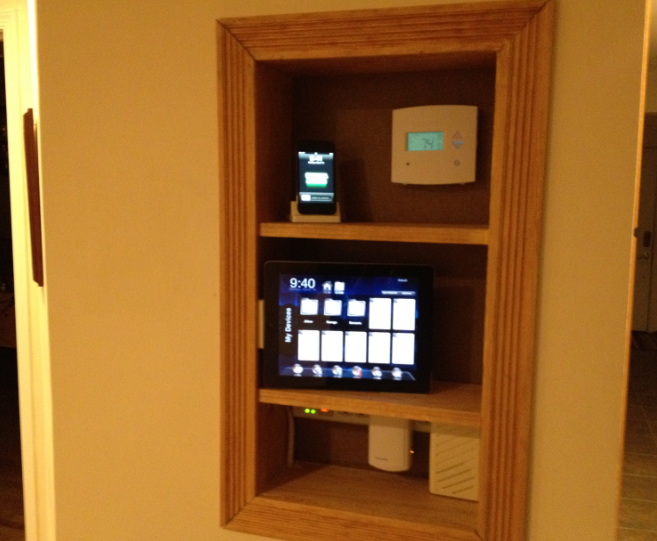
As you can see, the end result looks pretty clean and allows all the devices in the house to be controlled from one common location – plus I find that when I have company over, it’s a great place to let them charge up their own devices.


This one is my favorite