We’ll take a break from our regularly-scheduled programming now to talk about something that’s a little less glamorous than an Insteon-enabled Smart Home: drywall. If you’re starting to get serious with home improvement and automation, it’s inevitable that you’re going to start having to get your hands dirty and start cutting open walls for one reason or another.
I remember months ago planning on installing a new electric outlet, and after a couple beers with a buddy I grabbed a jab saw and jammed it into the wall, proceeding to cut open a really messy hole above a set of electric switches. My buddy was appalled that I would be so callous but I had a trick up my sleeve: I was just beginning to learn the fine art of drywall repair, and for the first time I realized that walls are not impenetrable barriers to getting done what needs to get done.
Since then I’ve done a LOT of cutting for projects we’ll be featuring here, but let’s just talk about the mechanics of cutting and resealing a hole in your wall. Keep in mind that there’s pretty much nothing that can’t be fixed, and drywall falls on the low end of the spectrum in terms of skillset required for a repair. I’d much rather do that than fix a hole in the ceiling where a foot went through from the attic, but that’s a story for another day.
The basics behind drywall repair are as follows:
Cut the hole
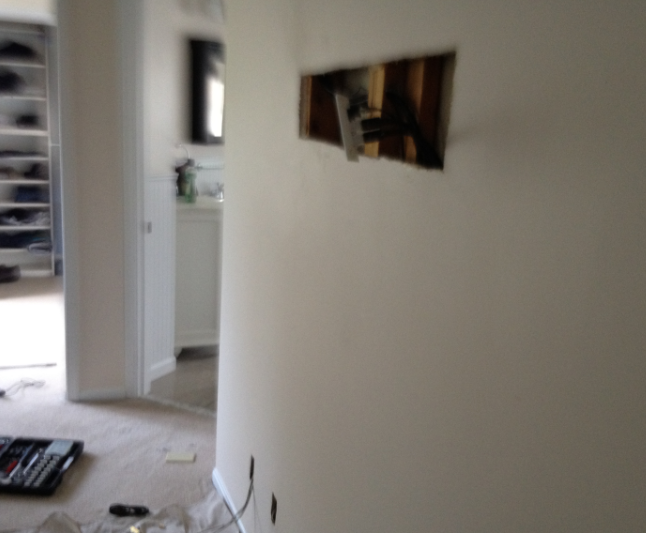
Cutting a hole in the drywall for whatever reason can be scary since it feels like it belongs in the domain of professional carpenters, but this really is the easiest part. You need access behind the wall, so just cut a hole as big as you need. You might be tempted to keep it small, but from experience, a larger hole is actually easier to patch than a small one, so don’t worry about the size.
Some tips to remember here:
- Remember that you can’t see what’s on the other side of the wall – ESPECIALLY things like electrical and cable wires. I suggest drilling a small hole and progressively getting bigger to make sure there’s nothing behind there that you could damage or could hurt you.
- That pilot hole is nice to see what’s behind there, but it’s also possible to re-use the piece of drywall you’re cutting out so put the pilot in one of the corners of the area you’re planning to cut out so that you can re-set the original piece when you’re done. On the other hand, drywall is cheap at Home Depot; don’t kill yourself over saving the original piece.
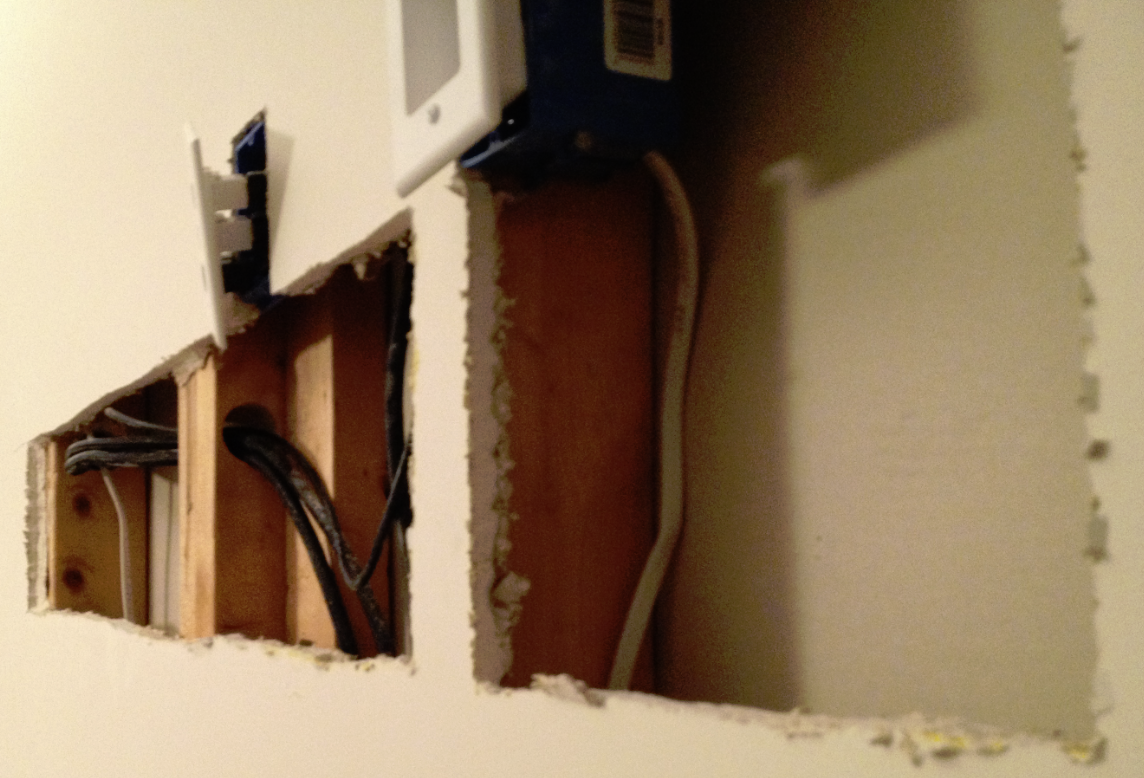
- It’s really easy to cut drywall between studs, but if you want to make the installation of the new piece easier, you should actually cut over the studs so that you can screw the new piece back in directly into the stud – otherwise it will be tougher connect the new piece to the wall. Two studs are even better to give your replacement piece a solid backing to attach to.
Do your work
We’re going to be talking about all kinds of projects that involve cutting drywall on this blog, so we won’t dwell on this step here.
Re-install the new piece of drywall
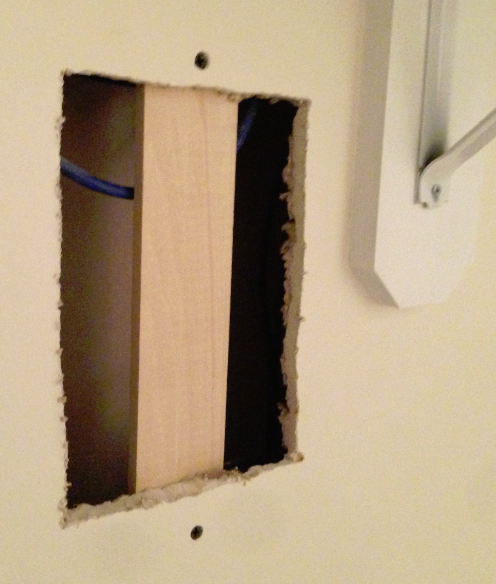
If you’re able to re-use the old piece of drywall that you cut out, that’s great – but if you need a new one just cut a piece as close as possible to the (hopefully rectangular) hole you cut. If you have exposed studs, use some drywall screws to re-attach the piece, but if not you can use a piece of scrap wood to give the new piece something to attach to.
Tape it up
Cover the rough edges with drywall tape. Some people don’t like using this tape, because it can be problematic in the sanding phase (the threads tend to separate and peek through the spackle). If you cut the new piece of drywall very close in size to the original hole, you can probably skip this step – but otherwise the tape helps as a scaffold for the spackle.
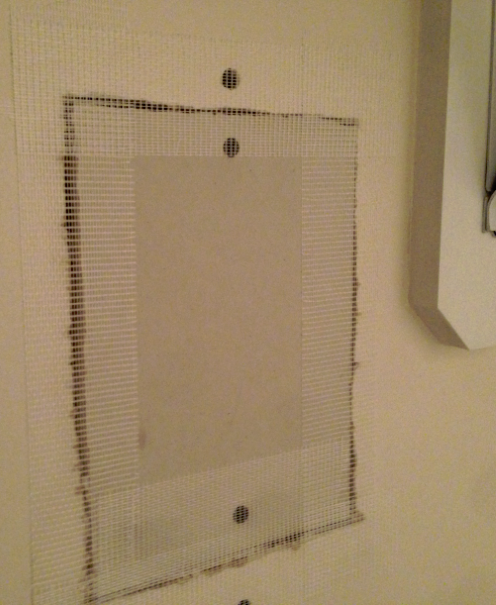
Apply the spackle
The spackle is applied with a putty knife
. At this stage don’t worry about it being very rough; just focus on filling all the holes and making sure there are no indentions or holes below the level flush with the wall.
Sand it smooth
Next, you want to let the spackle dry and sand it completely smooth. This is where you have to start being careful – you can cut a savage hole, apply the tape at sloppy angles, and smear on the spackle like messy icing on a cake, but now you want to make sure that the patch smoothly fits the rest of the wall.

Paint the wall
I’m not going to bore you with details on how to use a paint brush, but the key thing to remember at this step is to get color-matched paint. The best way to do this is to take the original piece you cut out of the wall and bring it to the Paint Department at your local Home Depot. They’ve got equipment there to do color-matching, so you’ll be able to get a paint of the same color as the original wall.
I recommend painting the ENTIRE wall that you just cut up, and not just the space over the initial patch. The reason for this is that even a little dirt on the sample you brought to Home Depot could change the color of your custom paint a tiny bit – so you may notice a box in the middle of your wall that’s just a tiny bit off. But if you paint the entire wall up to the corner, you’ll never notice the difference at the seam.
One final note: if the hole is small enough, you may be able to save yourself some trouble with an off-the-shelf Drywall Patch Kit, but from my experience the metal mesh produces a visible protrusion from the original wall, even after the spackle, sanding, and painting.
Stay tuned for some projects related to drywall patching!


