We’ve covered Foscam security cameras and this Trivision 1080p model, and have even discussed a good way to access these cameras remotely with a personal VPN connection. If a personal VPN isn’t in the cards for you but you’d still like to connect to your cameras securely – and you have an “always on” computer – you can set up an SSL proxy to secure those feeds (or at very least, secure access to Blue Iris, which in turn will load the feeds).
The core problem is that the firmware on these cameras is usually pretty weak, and I’ve yet to see the ability to encrypt camera feeds with SSL. This means that if you open up your router so that you can access your camera remotely on the Internet, the traffic isn’t encrypted and is vulnerable to someone else “sniffing” it to gain access to your cameras. Creepy, right? A VPN solution would be the most secure, and your mileage may vary with the proxy approach described here (for example, it doesn’t work with the ISY994i or the Trivision model for various technical reasons), but it’s certainly better than nothing and can applied in a variety of situations. For example, it’s an approach I use to secure my Intellihome traffic.
The steps for setting this up are below, with the end result being the ability to access your private internal systems with a secure “https://” URL from the public Internet:
1) Install Apache
Apache is the web server that will handle taking the requests via SSL, then proxying the connections to your cameras within your network via HTTP. We’ll be using ApacheLounge‘s binaries, and the steps are pretty straight-forward:
- Download and run the Visual C++ redistributable
- Download Apache
- Unzip Apache to a folder of your choice. Note that the default configuration is to use c:/Apache24/ in the conf/httpd.conf file; if you choose a different folder you’ll need to update these paths as well.
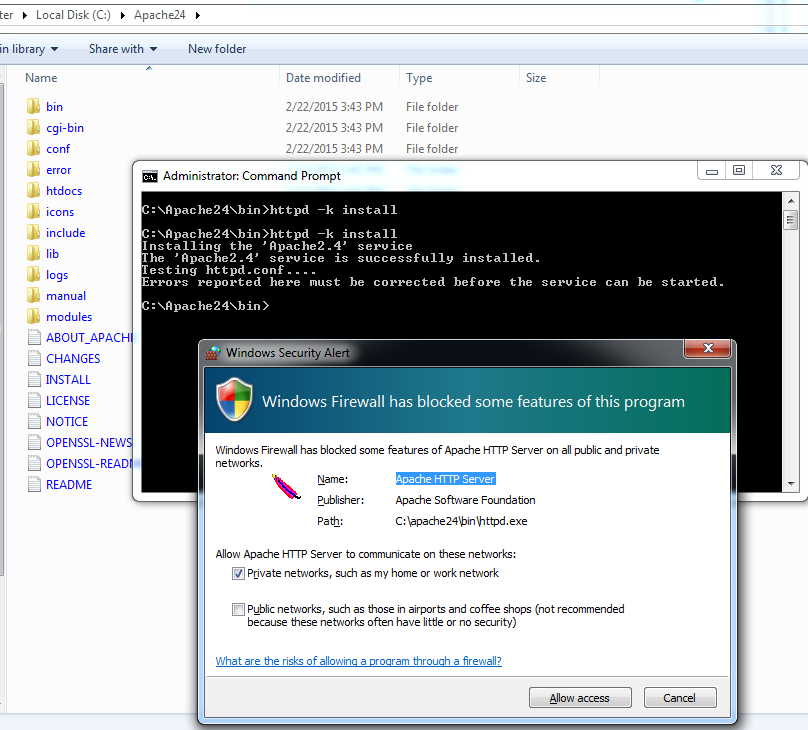
- Open a DOS prompt and run the following command to install the Apache service, allowing traffic through your firewall if prompted:
c:\Apache24\bin\httpd -k install
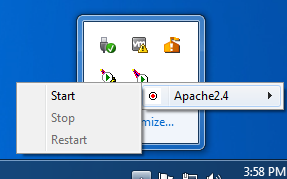
- If you would like to control the service from the system tray, you can run the file c:\Apache24\bin\ApacheMonitor.exe (or create a shortcut to that file in your startup folder so it’s always available).
- Start the service
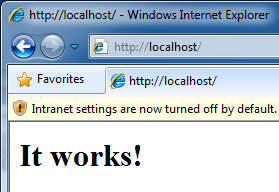
- Test the service by opening a browser and pointing it to http://localhost/
2) Generate a key file and get the certificate
The SSL certificate can be “self-signed” for free, but that means you’ll get browser warnings when you access the site. Self-signing instructions can be found here, but to avoid the browser warning I suggest purchasing an SSL certificate from a Certificate Authority. I typically use GoDaddy, which despite being a really spammy type of site with ridiculous and constant come-ons, has decent prices for SSL certs. The steps to do this are:
- Set the environment variable:
set OPENSSL_CONF=c:\Apache24\conf\openssl.cnf
- From the Apache conf directory (note that “mysite.com” needs to be the actual name of the URL you will be using to access this server), run the following to generate the CSR:
..\bin\openssl req -new -newkey rsa:2048 -nodes -out mysite.csr -keyout mysite.key -subj "/C=US/ST=Virginia/L=Arlington/O=Home Automation Guru/CN=mysite.com"
- Delete the .rnd file in that folder
- Use the CSR file that was generated to purchase a certificate (Again, I use GoDaddy, and we’ve touched on this process here.)
- Once you get the .crt file, put it in the conf folder along with any necessary intermediate certificates (for Godaddy, the file name is likely to be something like gd_bundle-g2-g1.crt).
3) Configure Apache to use the certificate file
These steps tell Apache to use the relevant SSL and proxy modules, configure where your certificate is, and set up additional information required to operate properly.
- Edit the conf\httpd.conf file. The following lines will be commented out throughout the fille, so we’ll need to un-comment them (and update the server name to reflect the name of the site you purchased your certificate for):
LoadModule proxy_module modules/mod_proxy.so
LoadModule proxy_http_module modules/mod_proxy_http.so
LoadModule ssl_module modules/mod_ssl.so
ServerName mysite.com:80
Include conf/extra/httpd-ssl.conf
- Edit the conf\extra\httpd-ssl.conf file. Here you’ll need to update a few settings, using what’s already in the file as a guide:
DocumentRoot "C:/Apache24/htdocs"
ServerName mysite.com:443
ServerAdmin matt@homeautomationguru.com
ErrorLog "C:/Apache24/logs/error.log"
TransferLog "C:/Apache24/logs/access.log"

SSLEngine on

SSLCertificateFile "C:\Apache24\conf\7e0c6321b281f.crt"
SSLCertificateKeyFile "C:\Apache24\conf\mysite_com.key"
SSLCertificateChainFile "C:\Apache24\conf\gd_bundle-g2-g1.crt"
4) Set up your proxy to send HTTP requests to your camera
The Proxy configuration tells Apache to forward any requests for a particular URL (in this case, /cam/garage/) to another URL (in this case, the IP address of the security camera on the private network). These lines go inside the <VirtualHost> section in your httpd.conf file:
# garage camera
ProxyPass /cam/garage/ http://192.168.0.99:8080/
ProxyPassReverse /cam/garage/ http://192.168.0.99:8080/
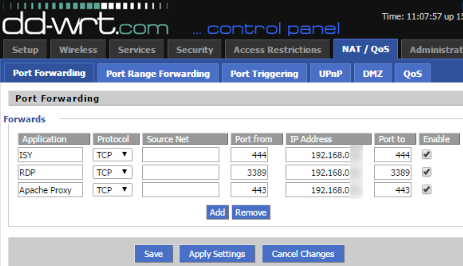
5) Configure your router to send SSL traffic to this Apache instance
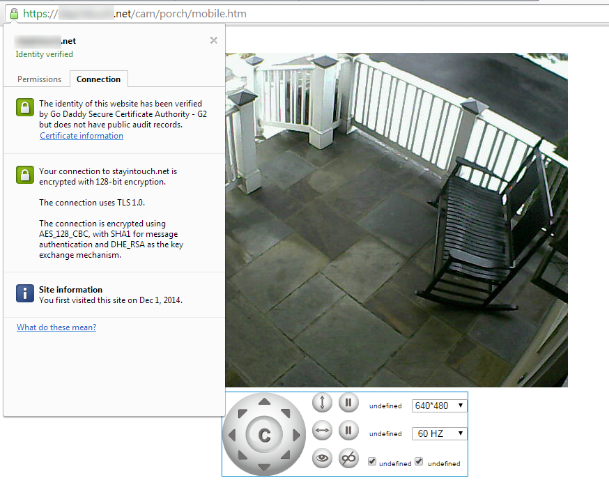
Finally, you’ll need to configure your router to send SSL traffic (on port 443) to the IP address of this Apache instance. See the instructions for your particular router type, or if you’re feeling adventurous check out DD-WRT for even more advanced capabilities. Once that’s done, you should be able to access your security cameras securely with your home domain name.


You can get a real valid SSL cert for personal use free at http://www.startssl.com/?app=1
That is what I use on my setup and it works well. They do charge a fee if you have to revoke the cert – but you shouldn’t need to do that.