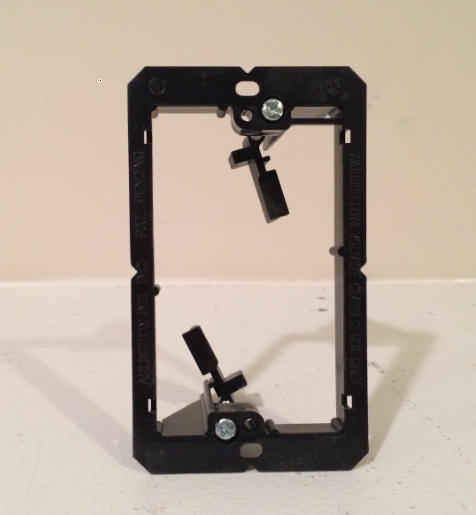
When you install an electric outlet, you’ll need to use a single-gang wiring box, nailed into an adjacent stud, and all wiring connections need to be made inside the box for electrical code and obvious safety reasons. On the other hand, low-voltage systems such as HDMI, ethernet and speaker wire don’t require a box like this, and consequently are easier to install because you don’t need to cut open a large section of drywall to nail the box to the stud. The brackets look like this, with tabs that slide into place when turning the screws on front, securely connecting to the wall via compression:
Rather than looking for a stud when installing these low voltage mounting brackets, you’re looking for the space between studs using a stud finder
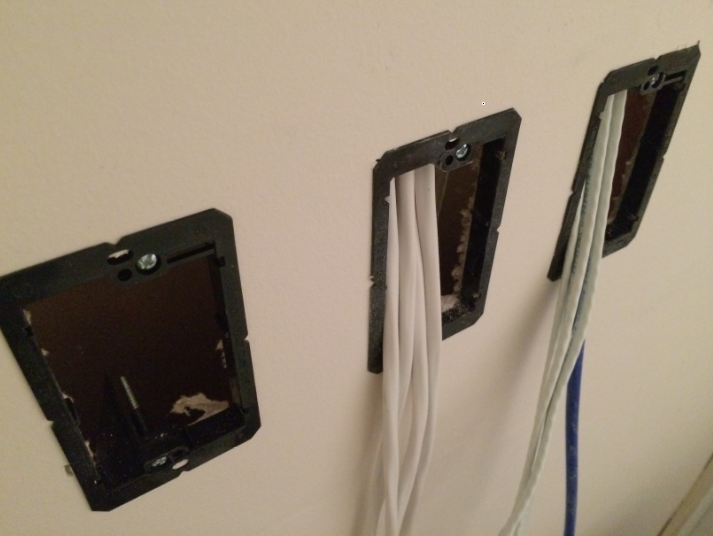
. Making sure there is nothing else like existing electrical wiring behind the wall, you simply cut a hole the size of the bracket, slide it in, and turn the screw to secure the plastic clip to the back of the wall. The end result is a clean wall mount that you can attach any faceplate to: