Installing speakers in your ceiling isn’t as hard as you may think – especially if you’re installing them in a middle floor with space between levels and no insulation.
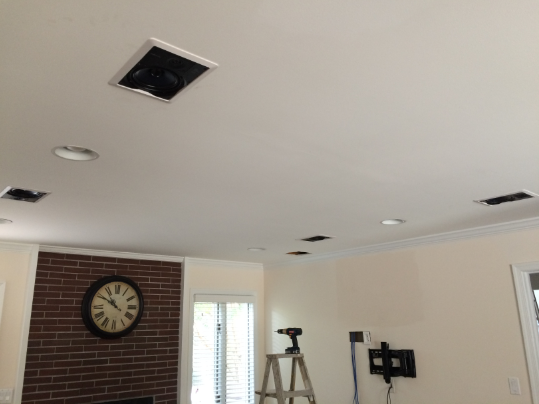
1. Select a location for your speakers
There really is a lot that goes into planning a media room for optimal speaker placement; in general you want as many speakers as possible equidistant from the optimal listening position (so you can get decent “surround” sound). In practice, though, room shape and the fact that you’re probably just looking for a full room sound experience means that “good enough” is often good enough. In my case I had a relatively small room with already existing ceiling can lights limiting my options, so the speakers aren’t as centered as they should be. Nonetheless, the speakers are good enough for casual TV watching and music. The choice is yours.
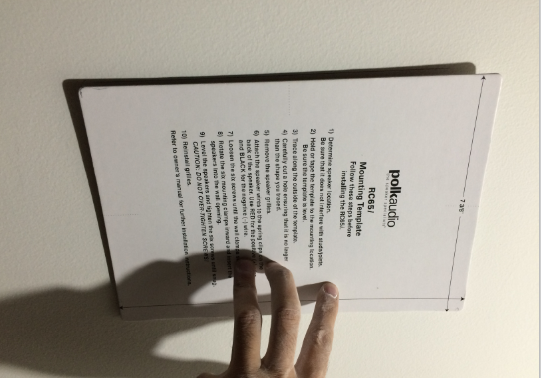
2. Cut the holes for the speakers
Use a stud sensor to make sure you’re installing the speakers BETWEEN the studs, trace the outline from the provided template, and cut out
the hole a bit at a time, taking care to ensure nothing is on the other side such as A/C ducts or electric wires.
3. Run the wires
Using a cable pull, thread your in-wall rated speaker cable
from the newly cut holes down the wall (see this post for how a ceiling-cut access point can be helpful for this).

4. Mount the speakers
After connecting the leads to the back of the speakers, slide the speakers into the cavity and screw the mounting screws. These will flip a plastic brace on the back of the speaker to hold it in place. Snap the grille on the front of the speaker and they’re good to go. The other end of the wires will connect to your amp, and we’ll cover that next.