In working on an automated sprinkler system, I started with the very basics: getting water where I wanted it. We’ll talk about the sprinkler system in an upcoming post, but the first thing I wanted to do is to get a garden hose spigot up on the deck by the BBQ grill and fire pit. The basic ingredients are pretty simple, but the key thing to this hose-based system is that you don’t have to worry about the actual length of the hoses, as you can make them yourself with any length of hose and a clamp-fit male or female garden hose repair kit
. The steps are:
- Use a hose splitter
at the original water source, typically on the side of the house.
- Measure and cut an existing garden hose
to length between the source and where you want to connect the new spigot.
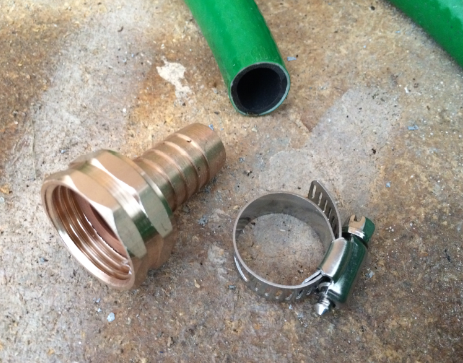
- Slide the clamp over the cut-off piece of hose, then insert the appropriate connector into the hose itself; slide the clamp up and tighten it with a screwdriver.
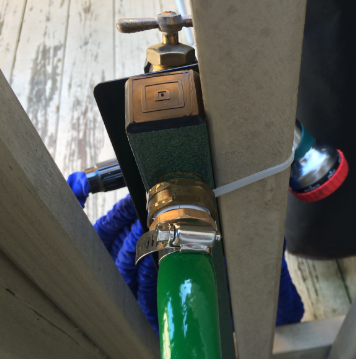
- Connect the end of that extension hose to the back of a hose bib extender
and mount it as desired; in my case I used common zip ties to attach to the railing of the deck:
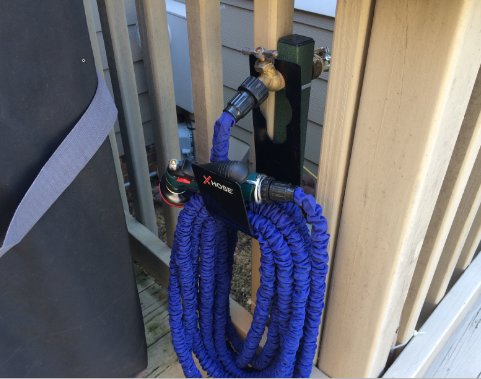
- Now, depending on your watering needs, you could use an expandable hose
, mounting bracket
, and spray nozzle
to finish the setup of your new, more conveniently located spigot:
The biggest thing to remember about a garden-hose based system like this is that you incur the extra labor of having to drain the system (and ideally store the hoses themselves in the garage) during the winter. This helps prevent the hoses from cracking over time due to freezing water inside the hose – not to mention what the freezing temperature does to the rubber.


