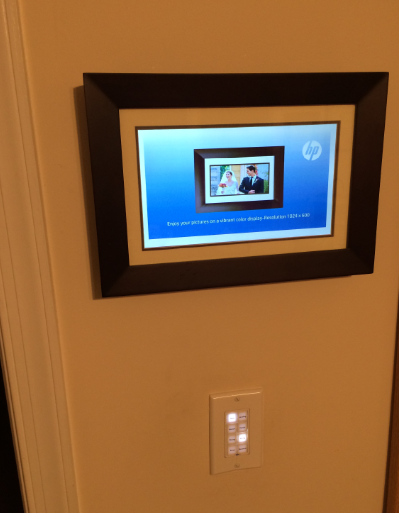
When I moved into my house, it had an old 1980s-style tape deck intercom system that I replaced with a custom Home Command Center. That meant the intercom units on the walls were basically just non-functional eye-sores:
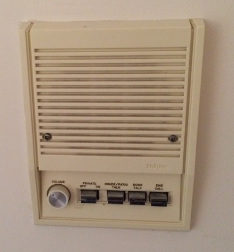
Recently I received a photo frame as a gift, and considered mounting it on the wall somewhere, but of course would have to deal with getting power to it. In looking at the intercom, I saw the perfect fit: the intercom system already had power and speaker wires coming from the central console – so I could pull the power from the central location rather than having to drop the power cord into the wall and plugging it in elsewhere.
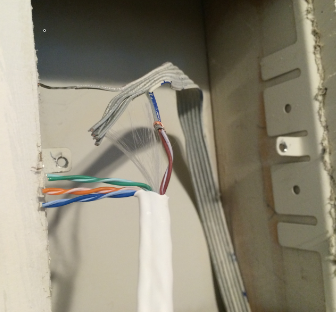
After removing the intercom, the first step was to run a cable from the central console to the wall unit so that I could identify which wires connected to which. The trick was connecting the cable to the wires on one end, then using the continuity feature on a multimeter to figure out which wire was which on the other end. In my case, I used an ethernet cable
to test multiple leads at once:
Once the wires were identified, I cut the power adapter cord that came with the frame, and basically used the in-wall wire as a super-long extension cord, with the power end sticking out of a small hole in the wall:
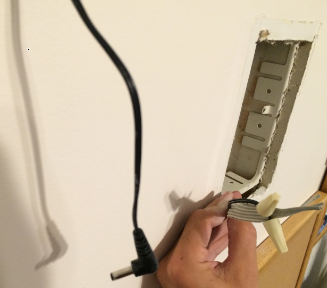
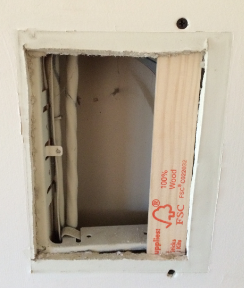
The next step was some drywall work patching the hole. (As a side note, most instructions that you’ll see relating to drywall repair talk about screwing a “piece of wood” into the wall as a brace. I’ve found the best type of wood for this purpose is a free paint stirrer you can pick up at Home Depot.)
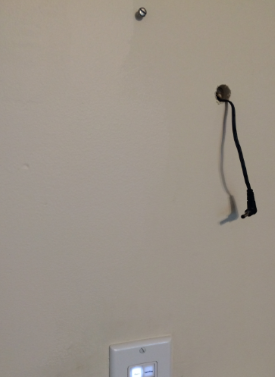
The net result of all this was a small screw on the wall, with the power cord unobtrusively coming out:
Hanging the frame (or, if you’re really ambitious, something more robust like an Android tablet, which are about the same cost) hides the cord, and you end up with a nice, functional wall mounted screen:
